8 Reasons Why You Should Shoot in JPEG
![]()
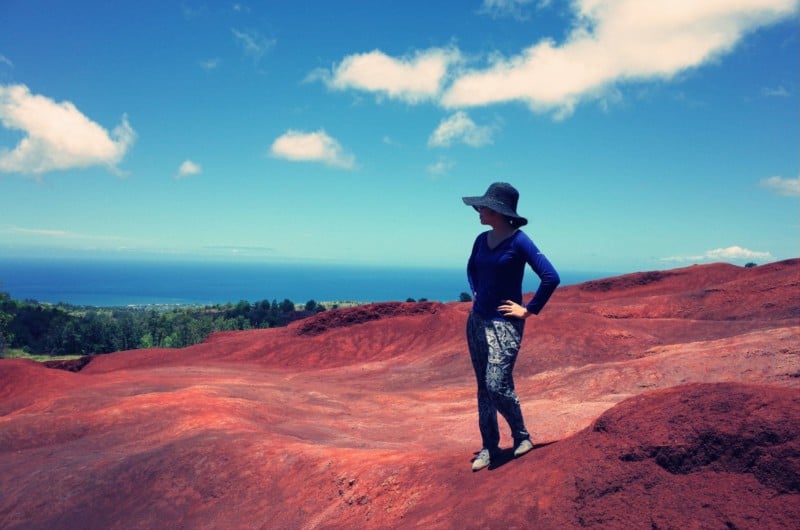
I’ve pretty much shot RAW all my life. There are so many benefits of shooting RAW in terms of how much flexibility you have with the files, as well as the raw data in the files. However, as time goes on, I’m starting to lean more towards shooting JPEG and realize the benefits of doing so.
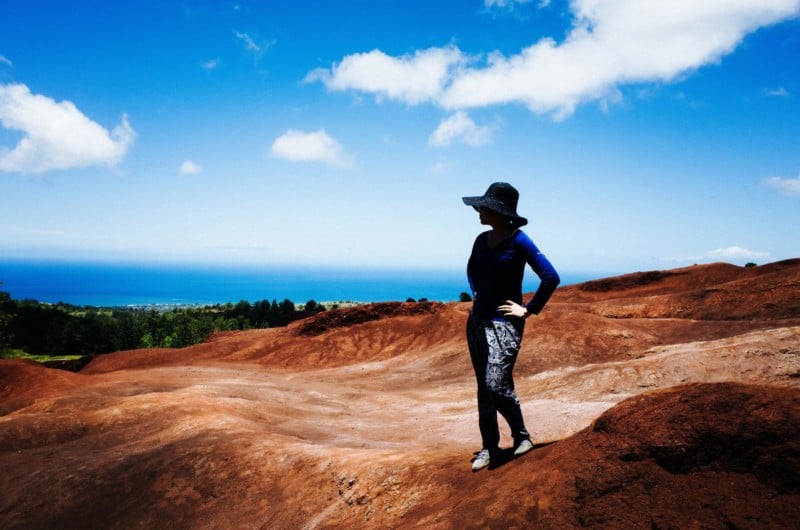
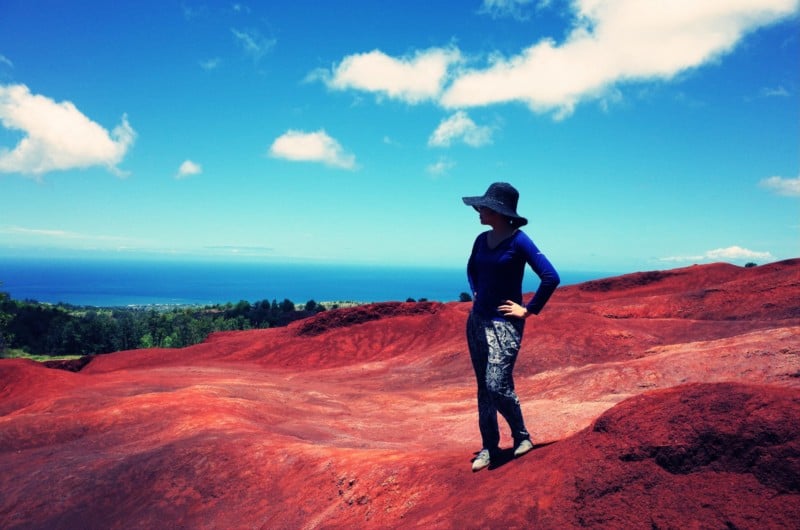
Second, I have found that it is always disappointing when I import RAW images into Lightroom, and see the images “revert” from the JPEG previews to the flat, no contrast look of the RAW image. Of course, this problem can be solved if you apply a present upon import, but sometimes the presets never look as good as the original JPEGs.
Third, shooting JPEG is less stress. I’ve found that when shooting simple snapshots for family and other events, JPEG is always the way to go. It takes far too much time to post process tons of RAW photos, deal with color correction, skin tones, etc when it comes to simple photos to just share.
Fourth, JPEG is cheaper/easier to back up than RAW files. For example, Google Photos currently has a feature which offers free, unlimited backup of JPEG images (at a reduced size of 2000px wide, which is good enough for 4×6 prints). As our camera sensors keep getting better and having more megapixels, it is a pain having to always buy more storage (either as external hard drives, or the cloud).
Fifth, shooting JPEG is somewhat similar to shooting film. I like how when you shoot JPEGs your images have a consistent “look”, and you are more dependent on good compositions and emotion in images, rather than trying to post process the crap out of your photos to make them look “interesting”.
Sixth, there are some JPEG film simulations that look phenomenal (even better than presets). For example, the “Classic chrome” color preset for Fujifilm cameras look solid, and even the “Grainy black and white” preset on the Fuji X-Pro 2 (with maximum grain) applied looks fantastic. And yes I do know that you can apply these filters to RAW Fujifilm photos (look under “camera calibration” in Lightroom), but not having to play around with Lightroom means less stress.
Seventh, JPEG offers more creativity (by having fewer options). I’ve found that sometimes processing RAW files is stressful because there are too many options when it comes to post processing images. Sometimes I will spend too much time post processing photos, and I often end up “over processing” my images. Over processed photos are like adding too much salt to your food.
Eight, there is a wonderful sense of “finality” with a JPEG image. If you saw a scene in black and white and only shot it in black and white, you don’t need to stress whether the color version would be any better. This is the same with black and white film– you can’t convert a black and white film photo into color, nor can you convert a black and white JPEG image into color. Ironically enough, by restricting our options, we can be more creative with our work.


I’m not saying to only shoot in JPEG
A couple of caveats.
First of all, I don’t shoot entirely in JPEG. I shoot RAW+JPEG because much of the black and white conversions I do with my free Lightroom presets look better than the in-camera “high contrast black and white preset” in the Ricoh GR II. However I’m starting to prefer the color JPEG images from the Ricoh over post processing it myself. For a friend’s wedding recently, I shot both RAW and JPEG, and I ended up only using the JPEG files (the color, contrast, and skin tones looked way better).
One of my good friends Josh White does more or less all his black and white shooting in JPEG on his digital Ricohs, and does some minor post processing afterwards.
There are also many instances where shooting RAW is preferable. If you’re a commercial photographer and you need all the information in the files, if you are a fickle photographer (that prefers having both color and black and white, just in case), if you already have film simulation presets in Lightroom that work well with your RAW files, or if you already have your “workflow” mastered.
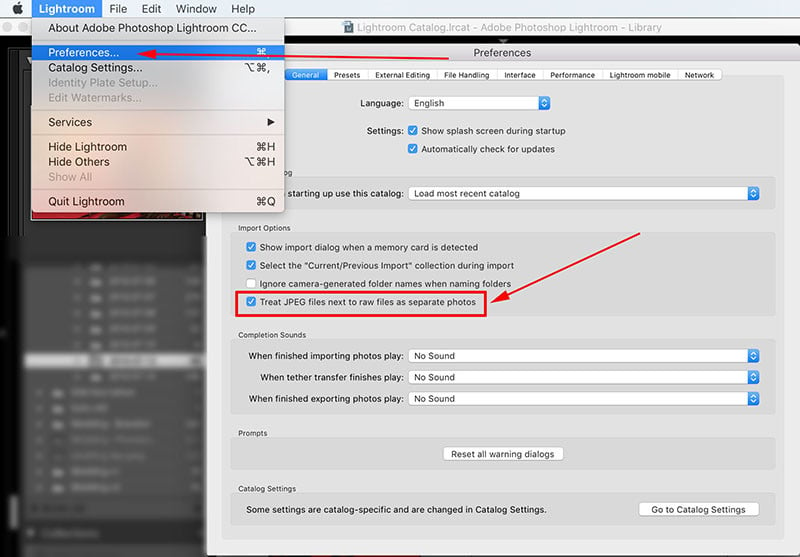
As a tip, if you shoot RAW+JPEG, enable your settings to view them both in Lightroom.
1. Go to “Preferences”
2. Check “Treat JPEG files next to raw files as separate photos”

My ultimate point in writing this article is that if you prefer shooting JPEG and don’t care for RAW, that is totally fine. If you’re a dedicated RAW shooter, experiment a bit with your JPEG images (you might be surprised, they might look better than you think). So try out shooting RAW+JPEG. And if you’re really gutsy, try experimenting only shooting JPEGs for a week or so, and see if it causes you less stress and more satisfaction in your photography.
Life is all about experimentation, enjoying your creative process, and not being encumbered by the small details. Viva la JPEG!
About the author: Eric Kim is an international street photographer who’s currently based out of Berkeley, California. The opinions expressed in this article are solely those of the author. You can find more of his photography and writing on his website and blog. This article was also published here.