How to Create the Perfect Automotive Rolling Shot
![]()
Let’s face it – cars are meant to be driven. And there is no better way to show off a car than with a rolling shot, or “roller”. Here, I’ll go into detail about how to set up your camera and everything else needed to create the perfect roller using an image from a shoot with Performance BMW Magazine.
Table of Contents
What You’ll Need
- A digital camera and lens (best to use a zoom lens here)
- A lens polarizer
- A car you can shoot out of
- Someone to drive said car
- Someone to drive the car you’re shooting
- Common sense
Our Location
Right off the Newburgh-Beacon Bridge, in Newburgh, New York.
Warning: Let’s be real here: what we did for this shoot is technically illegal and can be very dangerous, so make sure you trust your drivers and the roads are clear. I’m not responsible for anything that may go wrong on a shoot.
Scouting
It’s likely that you’ll be shooting static shots of the car as well, so if a roller is on the list, consider the highways around the area of your shoot. What is the backdrop like? Is there a lot of traffic? Should you shoot going East or West for best lighting? Here, this F80 M3 was painted in a color called Grigio Telesto, and I did not want just trees blurring by, which can tend to look messy. Instead, I used the mountainous terrain as a backdrop, which matches the car nicely.
Setting Up the Lead Car
When doing a commercial shoot, the roads are almost always closed, and at the very least, someone called a grip will rig a lead car with doors and hatches open so that the photographer may shoot out of the back, or mount cameras on the lead car itself.
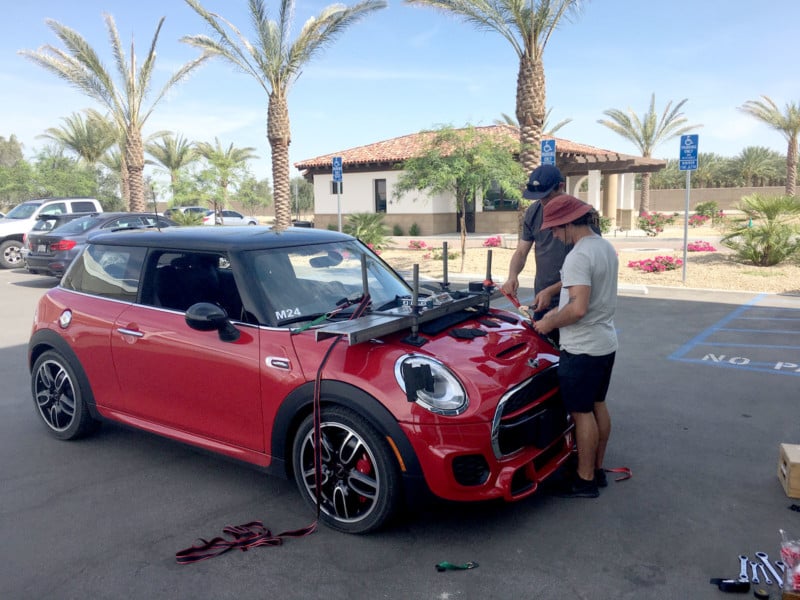
For obvious reasons, that’s not really an option here. But what I did have access to was the client’s family car — in this case a BMW X5. The X5 would work well; it has large windows to hang out of and is much taller than the F80, providing a more aggressive vantage point, so try to consider that when selecting a car as a lead. I had instructed both drivers to follow my signals and not go above 50 mph — the camera captures a sense of real speed as low as 20 mph, so zooming by isn’t really needed.
Setting Up Your Camera
I always leave a polarizer on my camera if at all possible to help reduce reflections. Use your judgment, but if the picture is a little underexposed, you can always brighten it up in post. Make sure your autofocus is ON, and use a strap to secure the camera to your body somehow. My settings for this shot (using a crop sensor camera):
- Focal length: 25mm
- F/stop: F/10
- White Balance: auto
- ISO speed: 200
- Exposure: 1/25
The goal here is to get the car as CLEAR as possible, so the shorter exposure time to keep the image steady, the better. If you have vibration reduction on your lens, enable it. I find it best to fire a shot, then let the camera refocus before firing off again. Remember that both you and the car are moving constantly, so it’s very easy to lose sharp focus.
You’ll see I’ve also raised the ISO level to 200, and probably could have gone even higher without risking a noisy image, but this worked well for this shot. A higher F/stop will ensure the entire car is in focus, as the back half can sometimes tend to get softer at a wider aperture setting. Take 5 or 6 shots in this manner, review your work, and keep at it until you get the one you love.
There will always be unforeseen circumstances like a pothole, other inattentive drivers, etc, that can ruin a shot, so have patience and take as much time as needed. There should never be any other cars in the frame so the attention stays on your hero car. Finally, I recommend a zoom lens here as opposed to a prime, because you’ll need the ability to zoom in and out on the car quickly and easily.
As for shooting itself, try different angles – stick the camera out of the window and lift it high, then point down, or get it as low as you can to the ground (which is how I shot this one) – that makes the car look aggressive. You won’t always be able to see what you’re shooting, so just aim and pray, then review your shots to adjust.
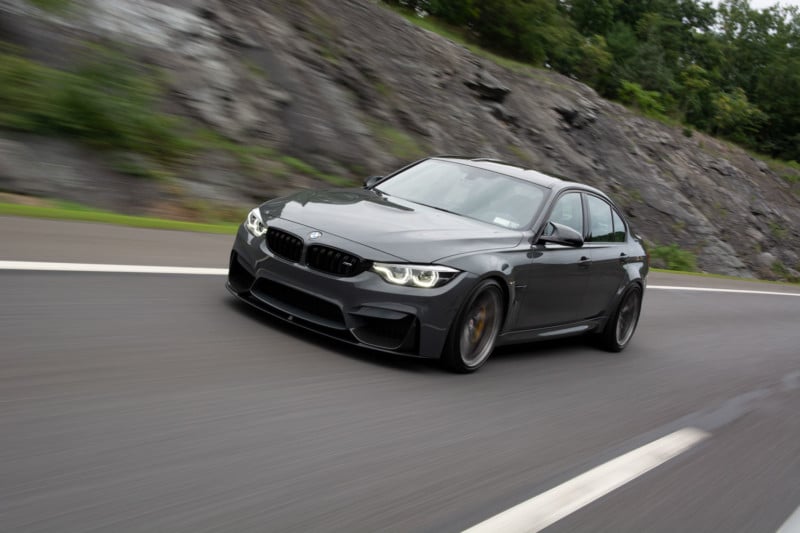
Retouching
Compared to a static shot with multiple exposures, this will be a breeze, because we really just want to bring a bit more drama to the image (it already has a lot with motion). Opening up the RAW image in Camera Raw, I’ll use the following settings to help brighten everything up and expose the intakes along the bottom of the car.
- Exposure: +15
- Contrast: -20
- Shadows: +30
- Blacks: -10
- Clarity: +30
- Dehaze: +5
Open the image as a smart object, and add an adjustment layer of “Curves” on it. Adjust the curve to brighten up the darker areas even more. Finally, this particular image had a red tint to it, so I used an adjustment layer of Selective Color to reduce it. You’ll have this:
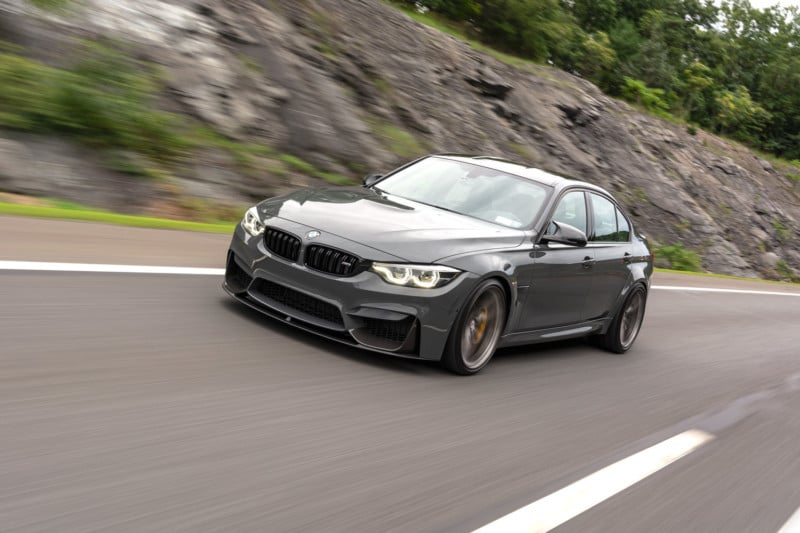
Duplicate everything and flatten it to create a new layer, then go in and use the healing or brush tools to smooth out the surface of the car (those red lights reflecting, for instance. Once complete, make the image a Smart Object and open a Camera Raw filter on it. Well add some more clarity, and vignette, to help bring focus to the center of the image where the car sits:
- Clarity: +30
- Lens Correction: vignette: -60
- Midpoint: 20
You’ll now have this, almost there.
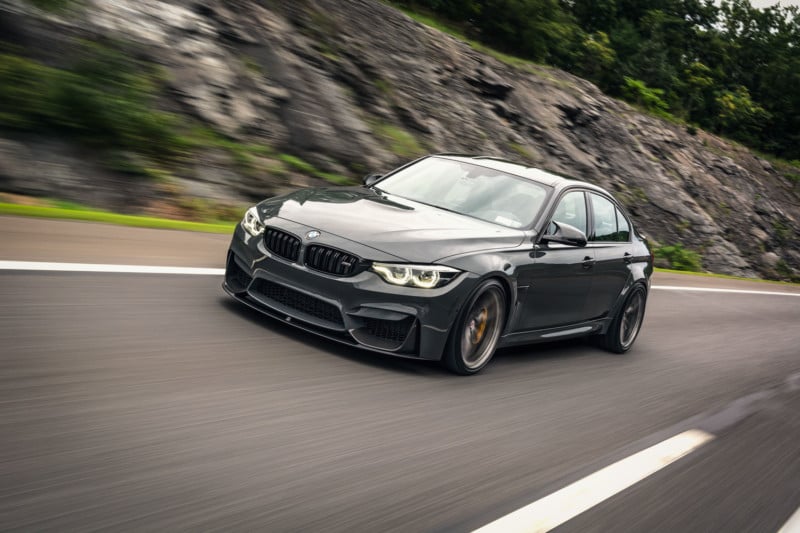
But by doing this, we’ve made the bottom half of the car a bit dark. Select everything, group it, and duplicate as a new layer, then flatten as a smart object. Open a Camera Raw filter on the image. Using the shadow control, boost it to +50. Then, add a layer mask on the image and black everything out (COMMAND + DELETE). Select your brush tool and paint back in all the highlights along the lower edge, bringing out the detail. Here’s a GIF:
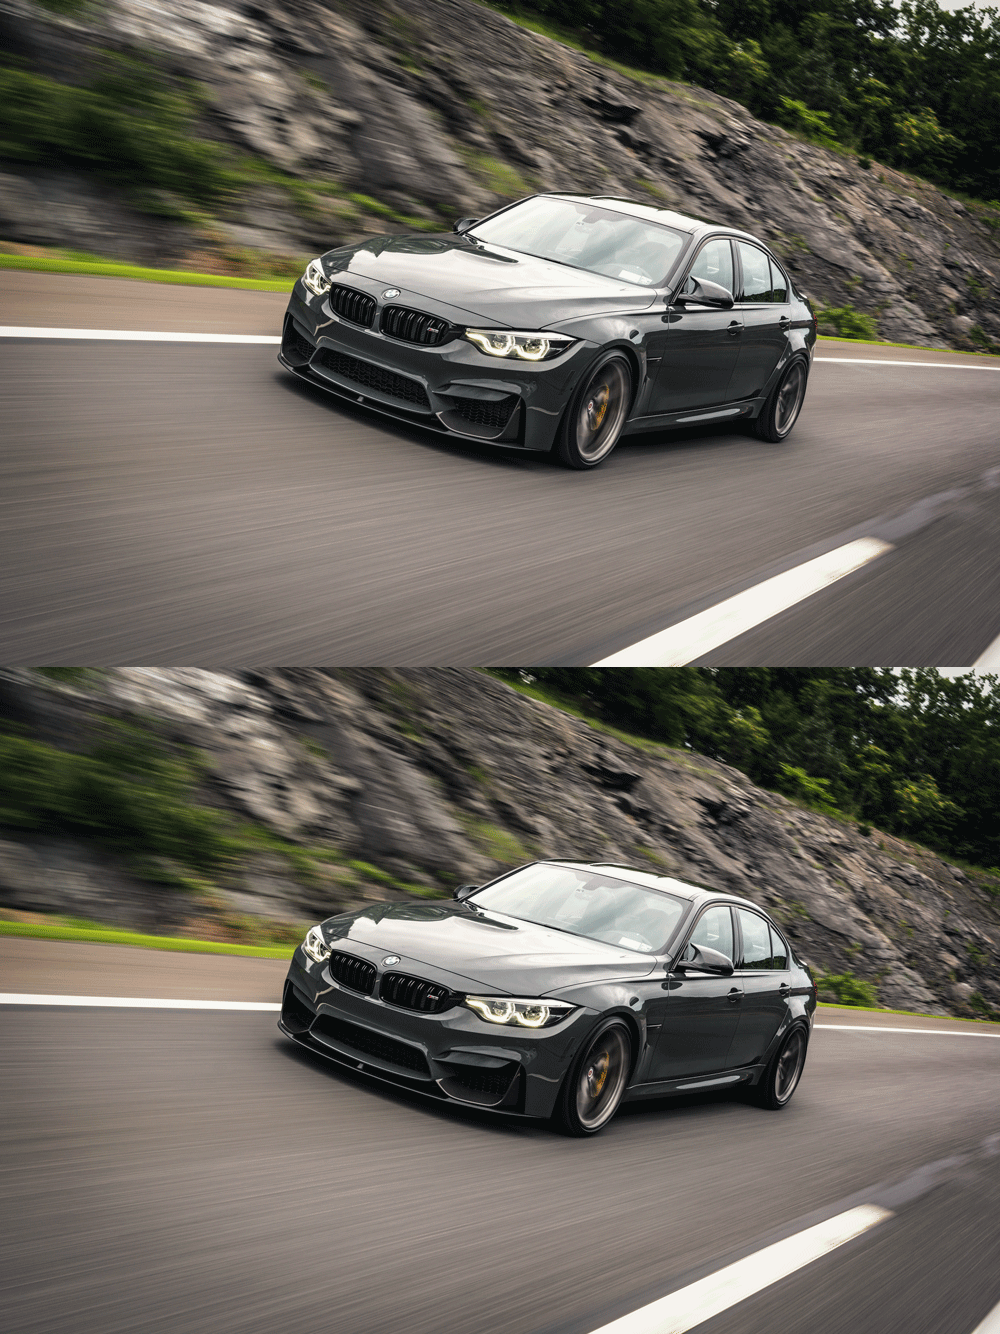
That’s it! These are really fun images to both shoot and edit, so enjoy your roller adventures!
About the author: Mike D’Ambrosio is an automotive photographer and retoucher based in New Jersey. The opinions expressed in this article are solely those of the author. You can find more of D’Ambrosio’s work on his website, Facebook, and Instagram. This article was also published here.